Element FX - profitable trading system
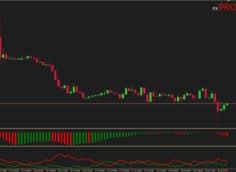
Element FX positions itself as a strategy for scalping. Therefore, as a rule, of such strategies better suited highly volatile currency pairs during the European session. Element FX is not complicated to use strategy and will suit even the novice trader.
Element Forex consist of 2 parts. But each part, is packed with features. More features than 15 individual vague indicators you may be using. The problem with the common indicators, is that they don`t give you an actual signal. They only show you graph based indication in which you yourself have to decide if it’s a buy or sell. Element FX actually does tell you when to Buy or Sell. And it does much more as well.
Characteristics of Element FX Trading System
- Type of strategy: Scalping
- Platform: Metatrader4
- Currency pairs: Any, recommended Major
- Trading Time: European session
- Timeframe: M5-H1
- Recommended broker: Roboforex, XM, InstaForex
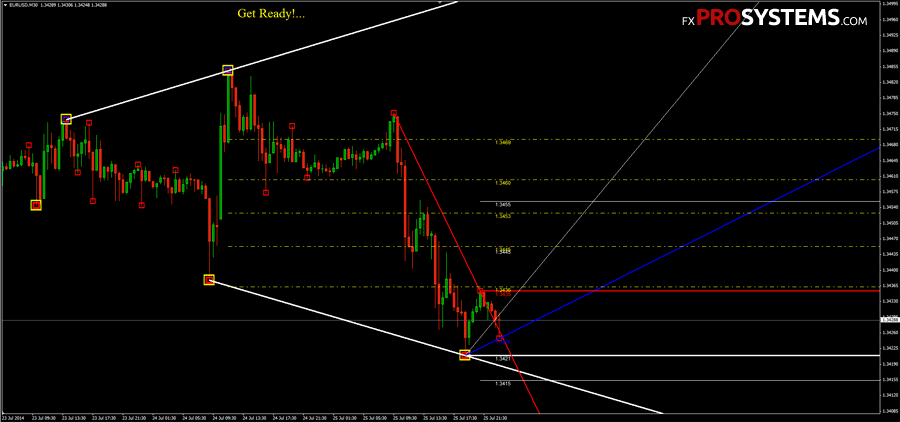
Element FX will consist of 3 types of squares. The red squares are average, the blue squares are strong, and the yellow`s are very strong. What they point our are reversal points. If a yellow square has show means there is a much greater and sooner chance of reversal that of the red and blue. But this does not mean that you don`t trade the brown and maroon squares. If you want to be safe, and if you intend to hold on to your trade, then only trade the yellow squares. As you can see, there is a message at the top. Currently it says “Get Ready”. So if you want to use this property, then you must only enter a trade when the message says “Sell next candle” or “Buy next candle”. You can also have the software alert you with a window sound popup by settings the “Sound alert” to “True”. Once you have entered your trade based on that, you must know when to exit and keep your Stop Loss. If you go into the indicator properties, scroll down until you see the option SHOW.SUPERLINES3 and set it to “True”. It will then project strong price levels which are the most common Take Profit and Stop Loss points that trades use.

Settings information
The default of the software is set to a 5 pips trigger. This is meant for a M5 to a M15 Time Frames and even M1. If you are wanting to trade higher Time Frames, then you must increase the trigger amount. Using a small trigger on a high Time Frame is pointless. You will notice that the lines are almost overlapping each other if you go onto the higher Times Frames. That is because the trigger is currently set to 5 pips. You have to increase this this number. So to do this, go into the “indicator settings” and scroll down to the option called iPips Trigger and you will notice the number is 5. So increase that number Time Frames you go.
Here are the suggested settings:
| Time Frame | iPips Trigger |
|---|---|
| M5 | 5 |
| M15 | 5 |
| M30 | 7 |
| H1 | 10 |
| H4 | 15 |
| D1 | 50 |
| W1 | 100 |
| MN | 215 |
In the archives Element_FX.rar:
- Fire_Signal.ex4
- Fire_Signal.mq4
- Rock_Signal.ex4
- Rock_Signal.mq4
- Stealth W Pivots V10 3.ex4
- Fire_Signal.dll
- Rock_Signal.dll
- fire&rock-combo.tpl
- fire_signal.tpl
- rock_signal.tpl
- Element FX Tutorial.pdf
Free Download Element FX
p style="text-align: center;">Mirror